-
Courses

Courses
Choosing a course is one of the most important decisions you'll ever make! View our courses and see what our students and lecturers have to say about the courses you are interested in at the links below.
-
University Life

University Life
Each year more than 4,000 choose University of Galway as their University of choice. Find out what life at University of Galway is all about here.
-
About University of Galway

About University of Galway
Since 1845, University of Galway has been sharing the highest quality teaching and research with Ireland and the world. Find out what makes our University so special – from our distinguished history to the latest news and campus developments.
-
Colleges & Schools

Colleges & Schools
University of Galway has earned international recognition as a research-led university with a commitment to top quality teaching across a range of key areas of expertise.
-
Research & Innovation

Research & Innovation
University of Galway’s vibrant research community take on some of the most pressing challenges of our times.
-
Business & Industry

Guiding Breakthrough Research at University of Galway
We explore and facilitate commercial opportunities for the research community at University of Galway, as well as facilitating industry partnership.
-
Alumni & Friends

Alumni & Friends
There are 128,000 University of Galway alumni worldwide. Stay connected to your alumni community! Join our social networks and update your details online.
-
Community Engagement

Community Engagement
At University of Galway, we believe that the best learning takes place when you apply what you learn in a real world context. That's why many of our courses include work placements or community projects.


Getting Started

Four Methods of Authentication
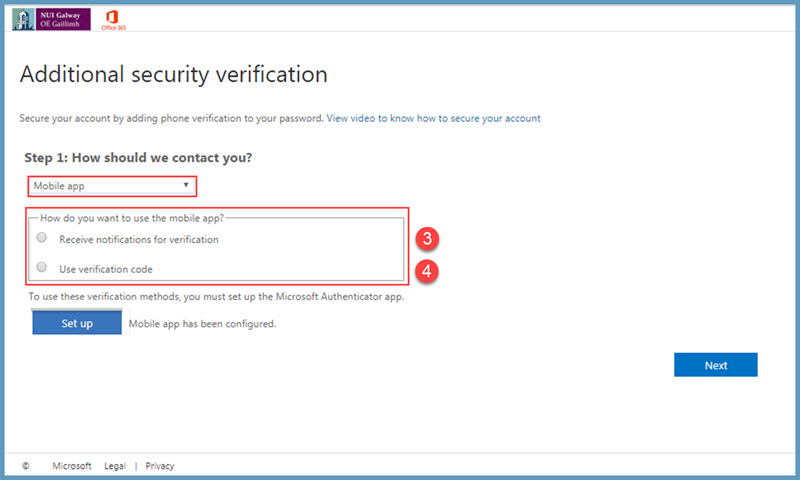
You can select one of the four methods of authentication available to you on your account. They are listed below, in order of ISS recommended preference.
Option 1 - Verification Via Push Notification Through Authenticator App
To use this option you must first download the Microsoft Authenticator App, please follow Download & Install Authenticator App instructions.
When you have the Microsoft Authenticator app configured, you will be able to verify via Push Notification. Select the radial button beside Recieve notifications for verification and click next

The below screen will appear
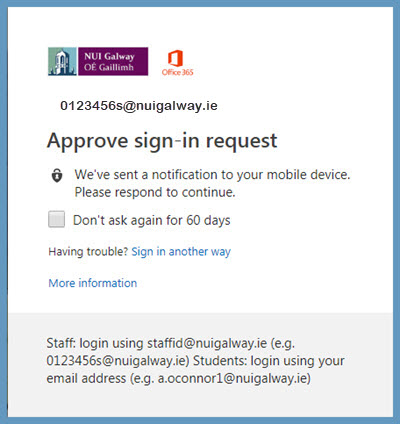
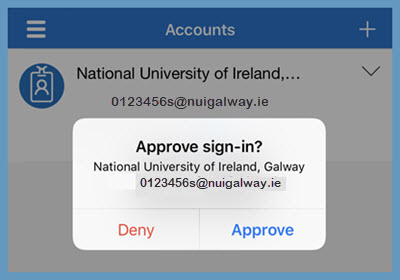
Go back to your phone and from the Authenticator App and choose Approve
MFA has been sucessfully configured. Click close. You will be brought directly to your mailbox.
Option 2 - Verification Via Code Through Authenticator App
To use this option you must first download the Microsoft Authenticator App, please follow Download & Install Authenticator App instructions.
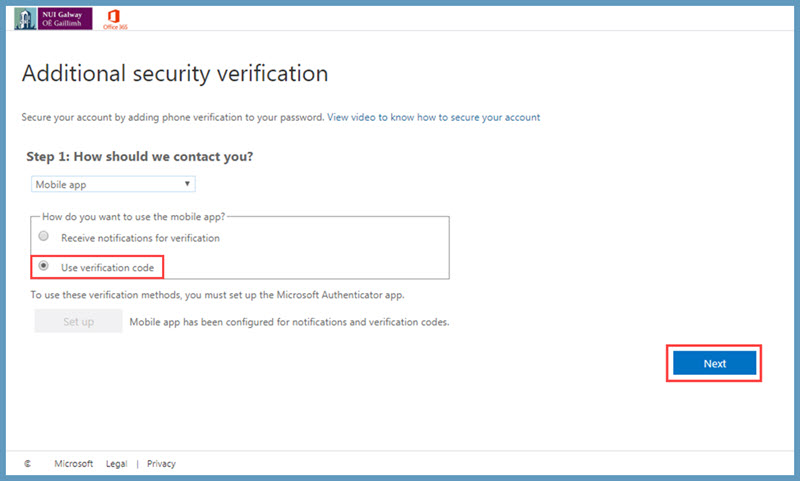
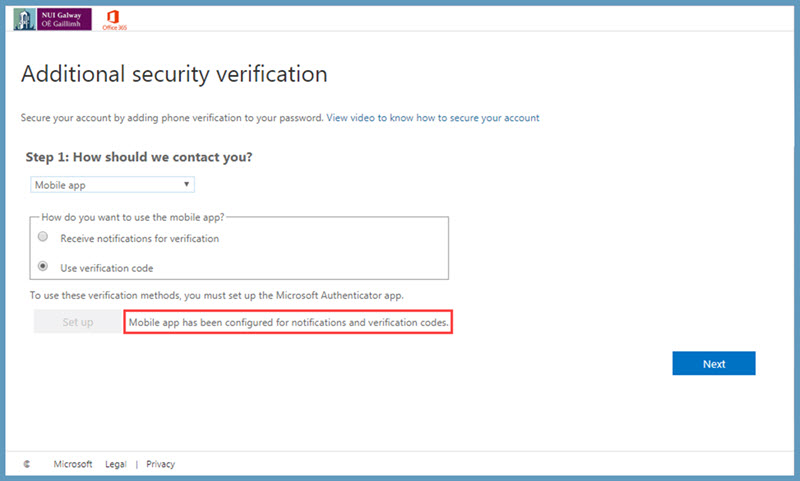
When you have the Microsoft Authenticator app configured, you will be able to verify via App Code. Select the radial button beside Use verification code and click next
Go back to phone and read code from the Authenticator app
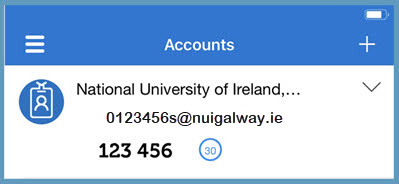
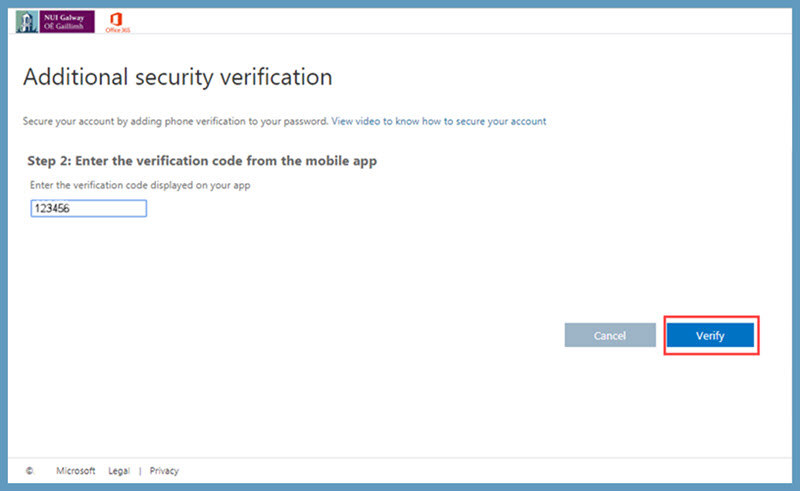
Type this into the prompt from your web browser and select Verify.
*Note the countdown beside the code.
* The code changes every 30 seconds on the Authenticator app. You must input code as it is on the screen and hit verify before it changes at the end of the count. If you fail to do so, you will see the below screen and you will need to retry.
When the code has been entered correctly you will see the below screen. Click Close
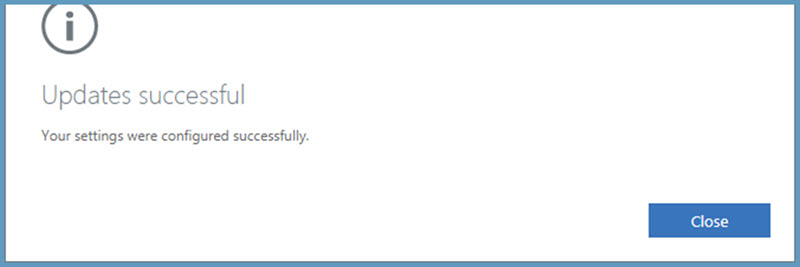
MFA has been sucessfully configured. You will be brought directly to your mailbox.
Option 3 - Verification Via SMS Text Message
After entering your username and password, you can choose to verify via text message to your phone. Your phone will recieve a 6 digit code. The sender will be from account Verify, Microsoft, or SMSVerify.
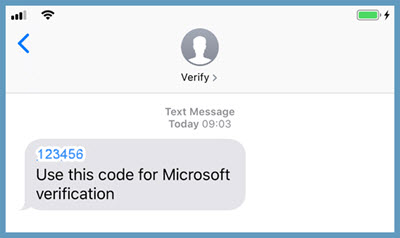
Go back to your browser, enter the code and select verify
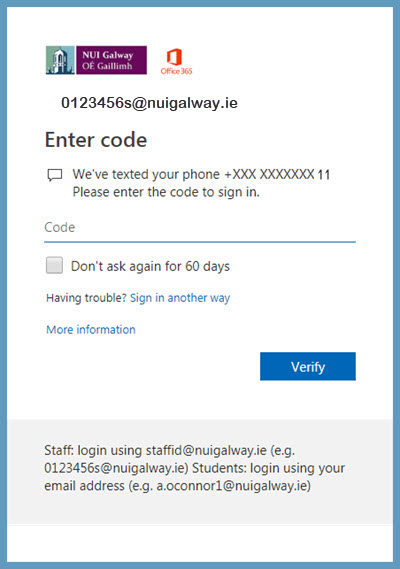
Upon successful entry, you will be brought directly to your mailbox.
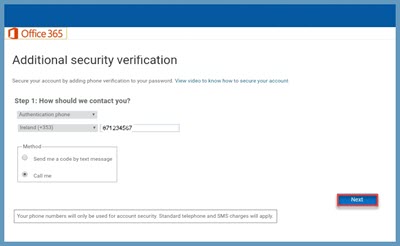
Option 4 - Verification Via Call Me Authentication
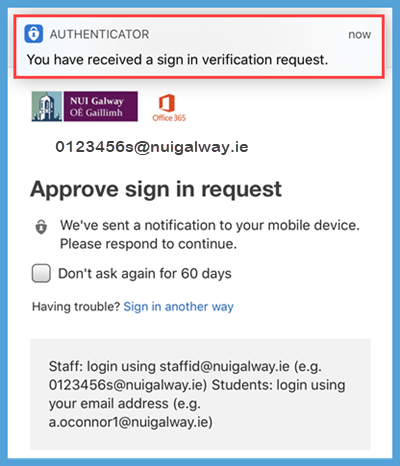
After entering your username and password, you can choose to verify via phonecall to your phone. On your browser, you will see the below notifcation.

Your phone will start ringing within 5-10 seconds.
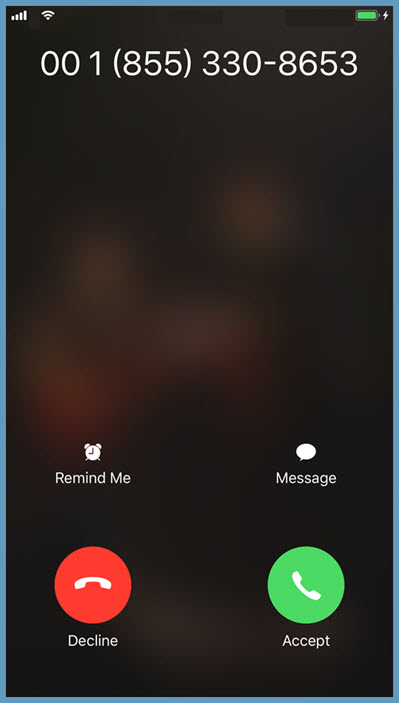
Answer the call. You will hear the following notification: Thank you for using Microsoft sign in verification system. Please press # to finish verification.
Press #
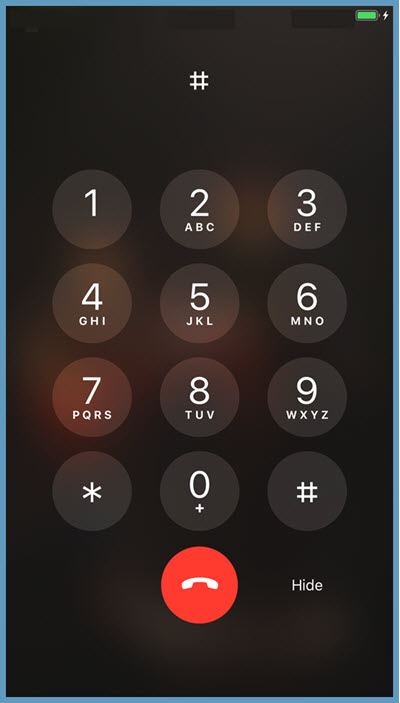
You will hear the following notification: Your sign in was successfully verified. Goodbye. The call will drop and you will be brought directly to your mailbox.
Download & Install Microsoft Authenticator App
To avail of MFA via push notification via app or App notification code (options 1 & 2 above) requires you to download Microsoft's Authenticator App to your mobile device.
Step 1
This is the ISS recommended means of authenticating to your Office 365 account.
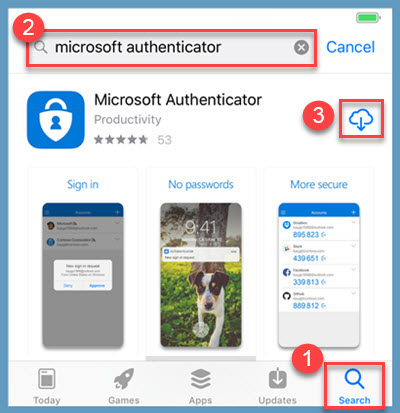
Installing Authenticator App (App Store Instructions)
This App can be downloaded from the Google Play or App Store.
Apple Users should locate the App Store logo on their device.
Search for Microsoft Authenticator and select download.
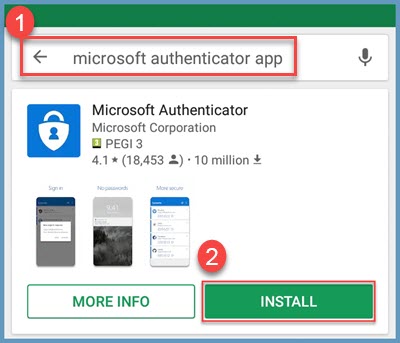
Installing Authenticator App (Android Instructions)
This App can be downloaded from the Google Play or App Store.
Android Users should locate the Google Play logo on their device.
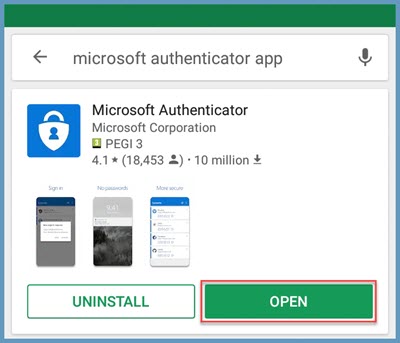
Search for Microsoft Authenticator and select install
Once installed chose Open to bring up the Authenticator App
Step 2
When you have the Microsoft authenticator app downloaded, you are ready to navigate to the Outlook Web Login page via any web browser as you normally might to begin the login process.
Logging into MFA Enabled Account for the First Time Via Web Browser
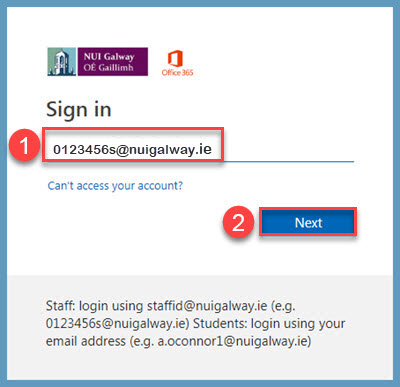
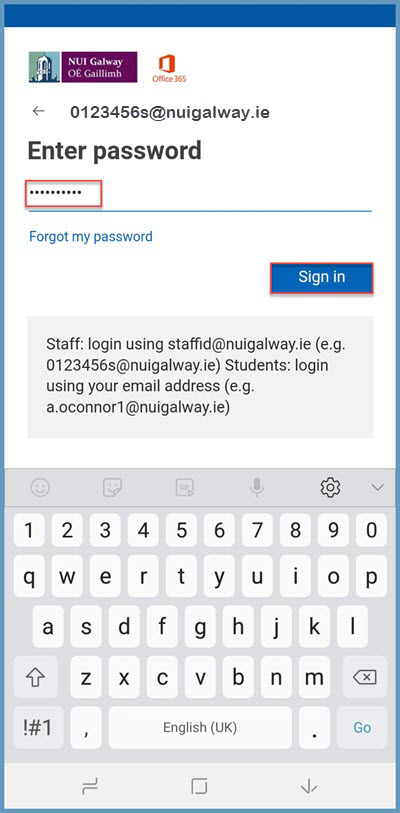
Navigate to https://outlook.office.com and enter your NUI Galway Student Email Username and click Next
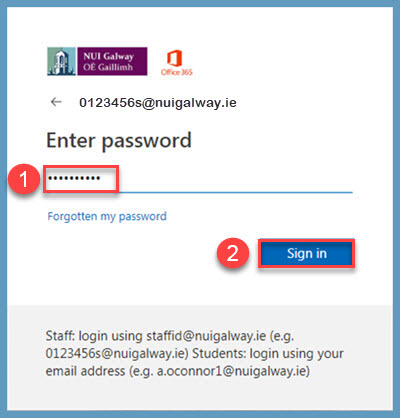
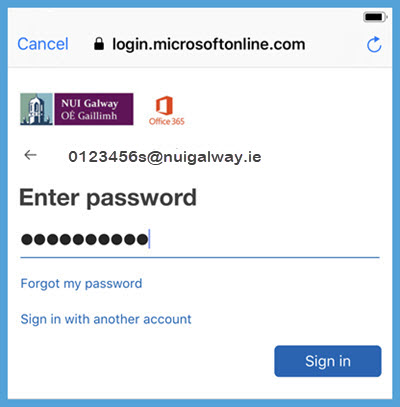
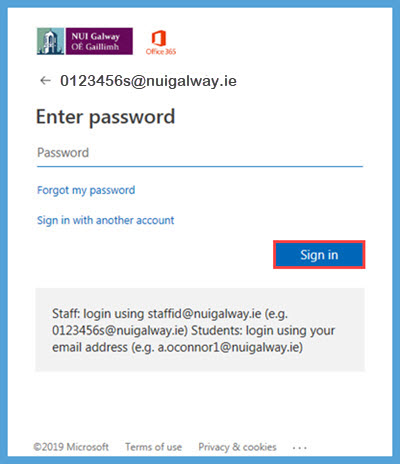
Enter your Password and click Sign in
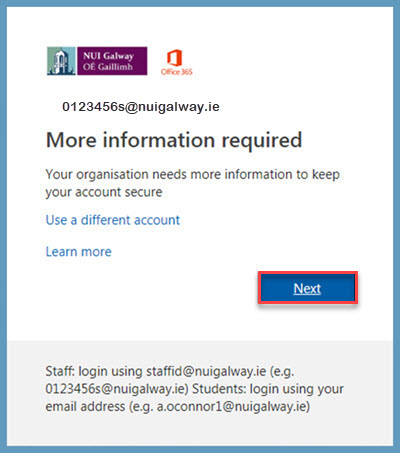
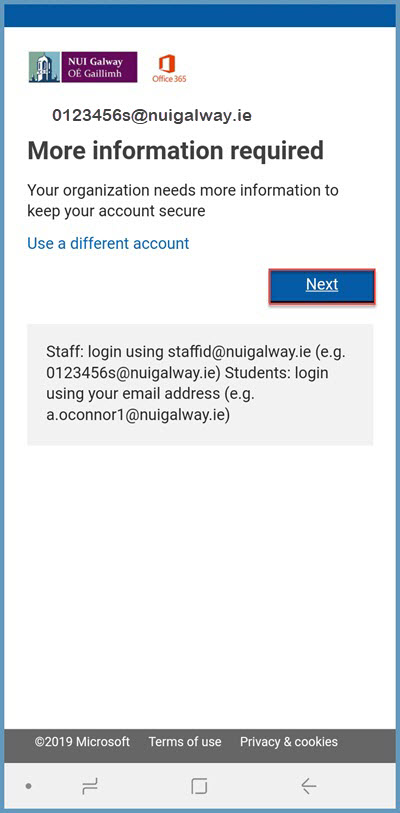
Upon first login to your mail with MFA enabled you will see the below prompt. Click Next to continue.
You are then given 1 of 4 options to avail of to allow authentication for the first time:
Authentication Phone
1) text message or
2) phonecall
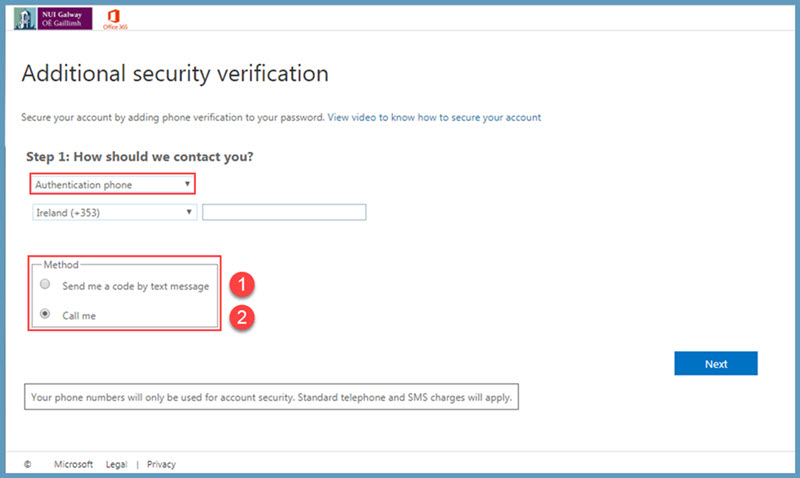
Mobile App
3) Push notification or
4) App notification code
Step 3
You are now in a position to configure the Microsoft Authentication App that you downloaded in Step 1
Configure Mobile App (Apple Instructions)
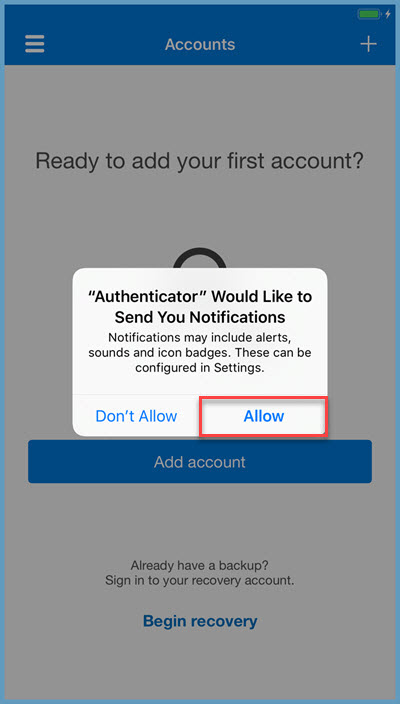
Once the App is installed you will need to Configure the App for first time use on your account. This only needs to be done once. Open the Microsoft Authenticator App from your device.
Click Allow notifications to be sent through the device. This is important to allow option authentication push notifications through whenchoosing to authenticate via this option.
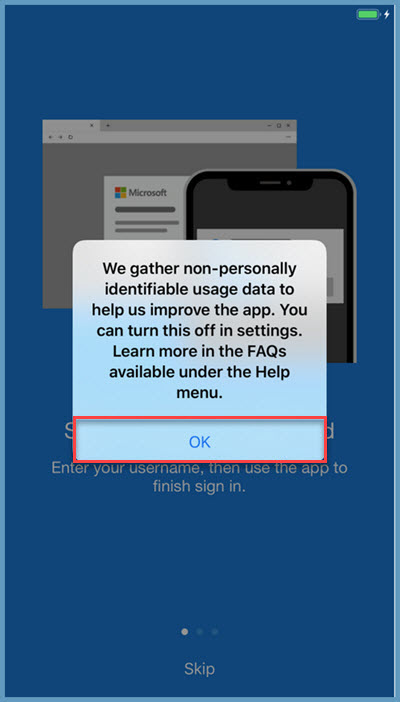
Click OK on the next screen
Swipe right
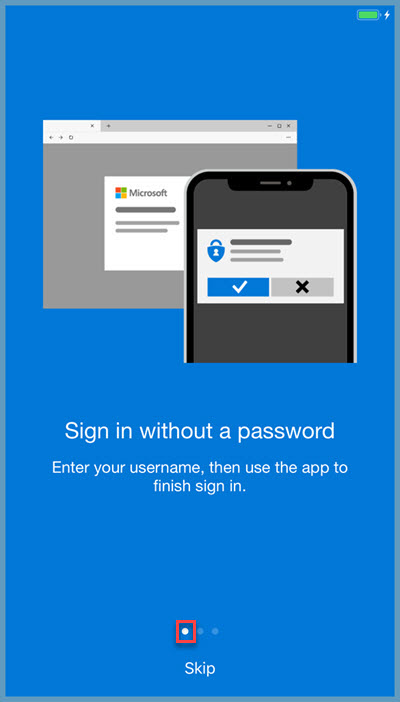
Swipe right
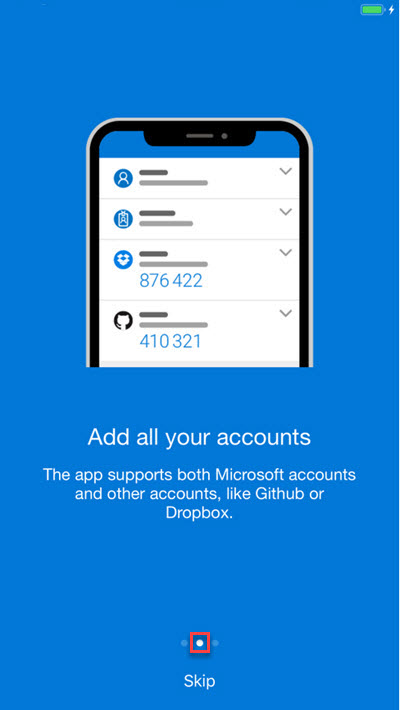
Swipe right
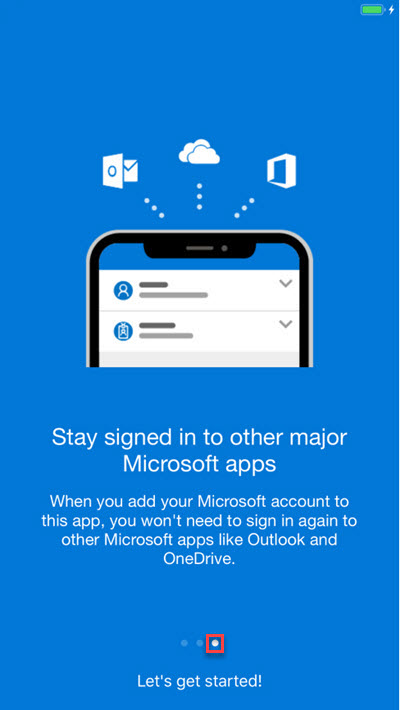
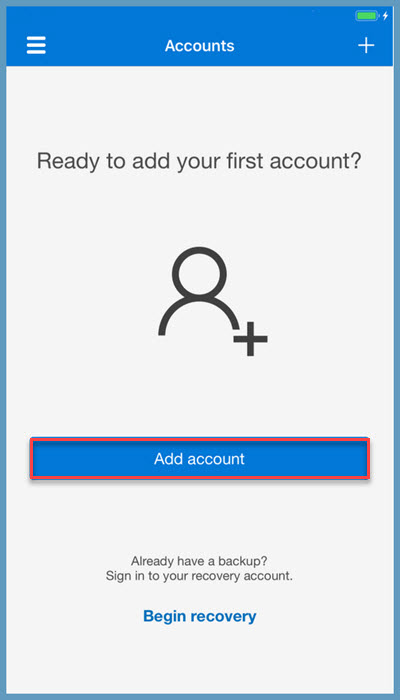
Click Add account
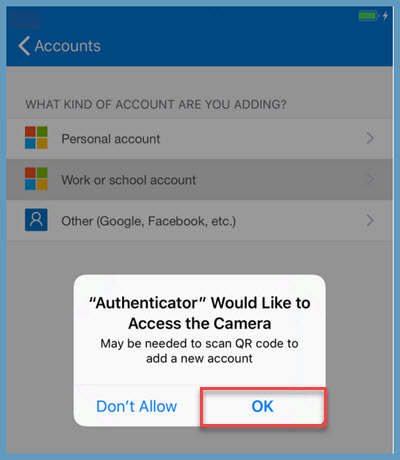
Choose Work or school account

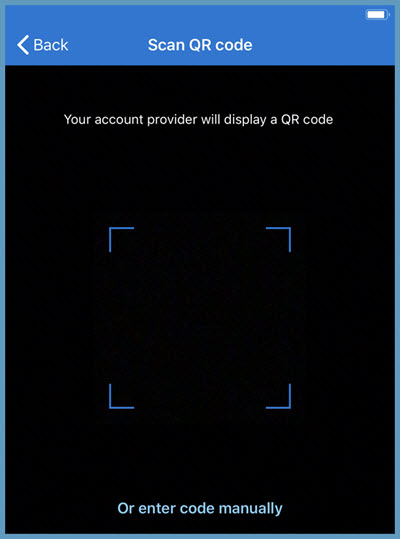
Click OK to allow Authenticator app access to your camera to scan QR codes
The below screen with show via your device camera
Now go back to your web browser on your computer. Upon initial set up, on the Additional security verification page, select the Set up authenticator app option.
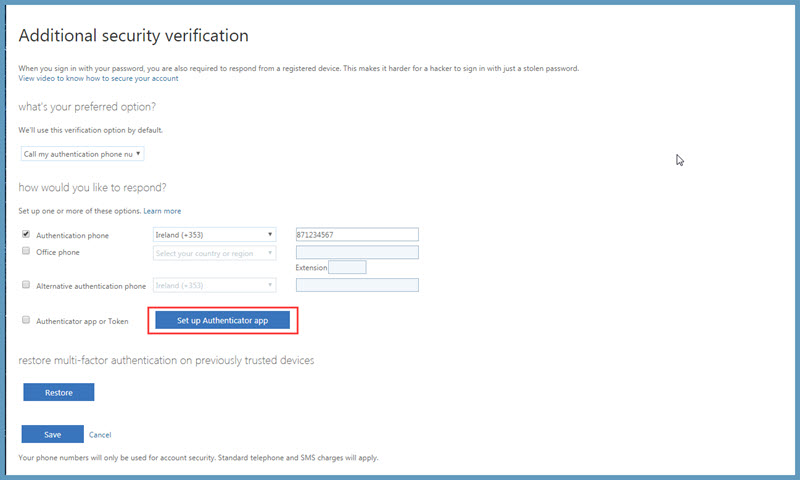
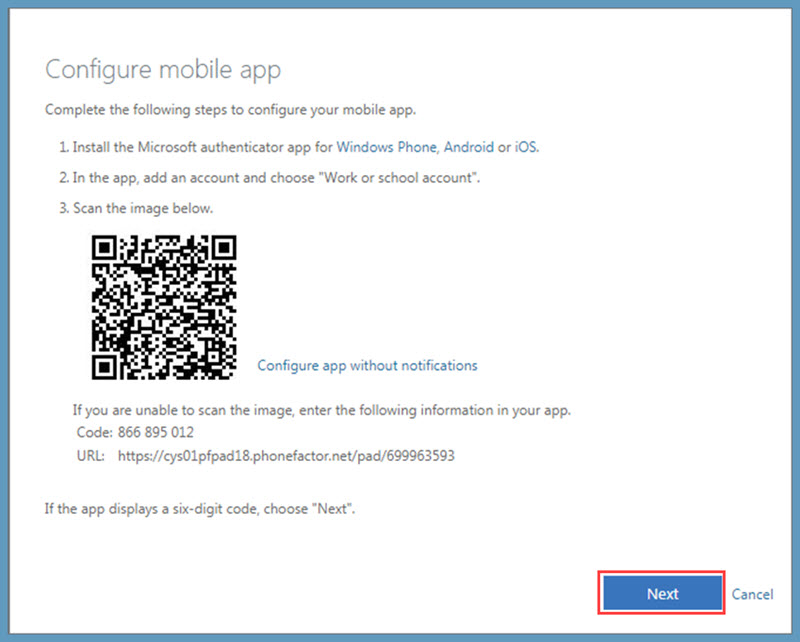
The below screen will appear. Hold your mobile camera to the QR code. Once the App has picked up the code, click Next
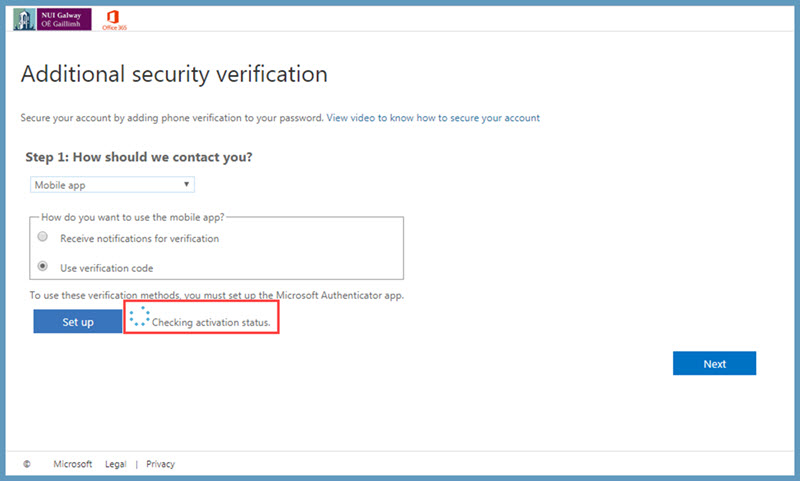
You will see the below status while the activation is being verfiied.
When configuration is complete, the below notice will appear.
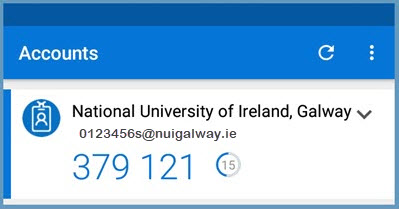
When you return to the Authenticator App on your phone, you will see the account has been added as per screenshot below
Now that you have sucessfuly configured the app you can chose to verify via Push Notification or Code
Configure Mobile App (Android Instructions)
Once the App is installed you will need to Configure the App for first time use on your account. This only needs to be done once. Open the Microsoft Authenticator App from your device.
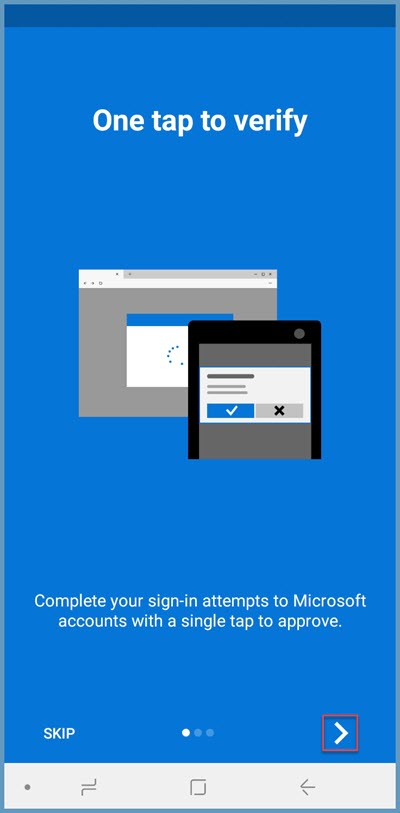
Open the App and select the Arrow icon
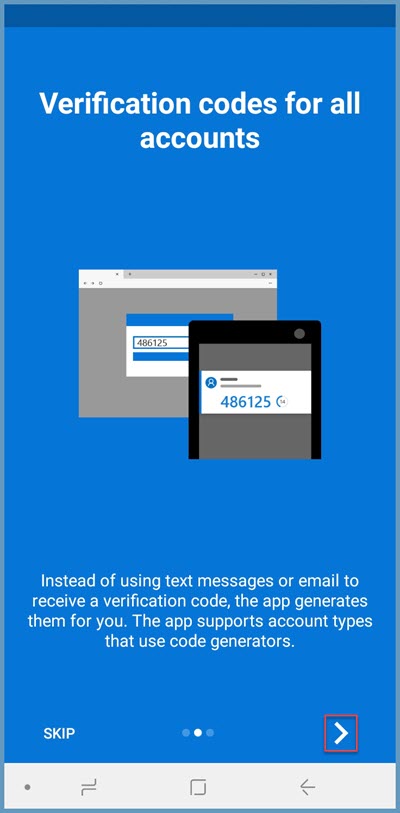
Select the Arrow icon again
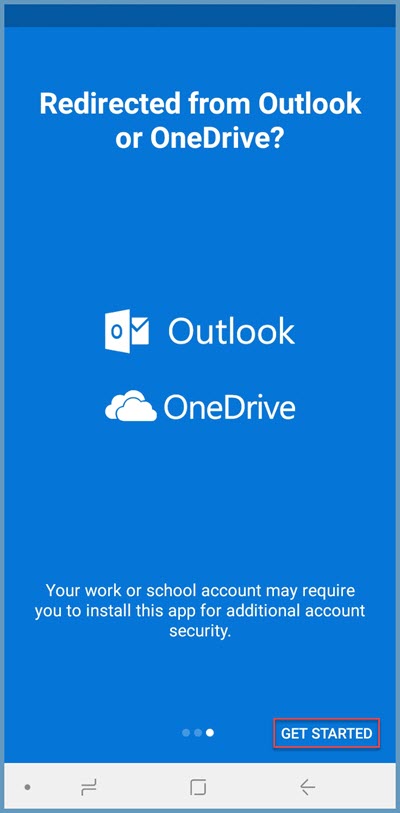
Select Get Started
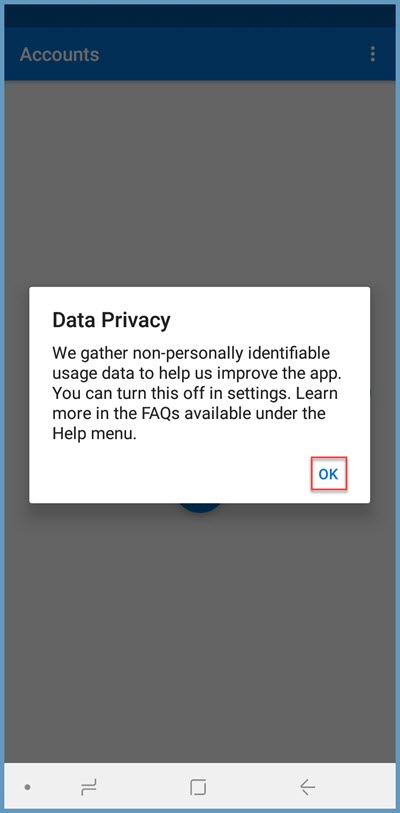
Select OK
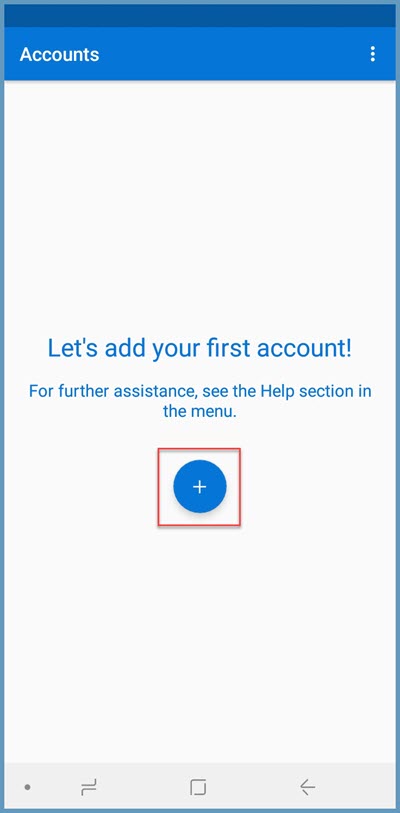
Select the '+'
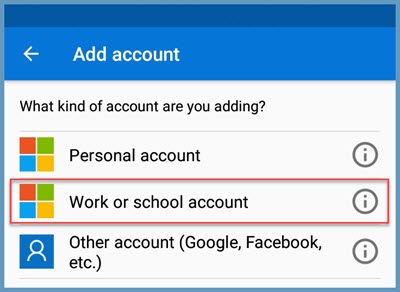
Select Work or school account
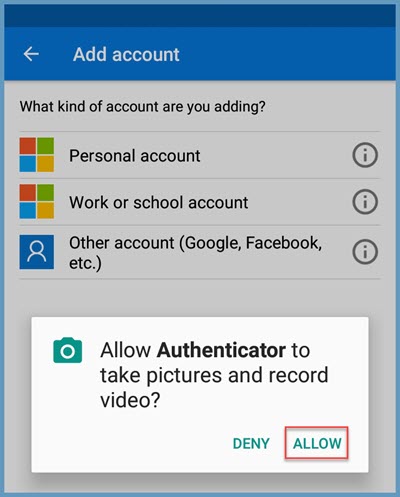
Select Allow for authenticator to access your camera
The below screen will appear via the camera on your device
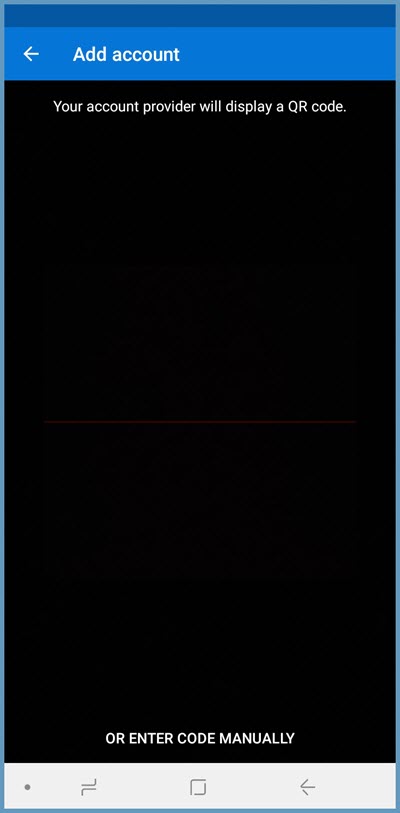
Now go back to your web browser on your computer. Upon initial set up, on the Additional security verification page, select the Set up authenticator app option
The below screen will appear. Hold your mobile camera to the QR code. Once the App has picked up the code, click Next
You will see the below status while the activation is being verfiied
When configuration is complete, the below notice will appear.
When you return to the Authenticator App on your phone, you will see the account has been added as per screenshot below
Now that you have sucessfuly configured the app you can chose to verify via Push Notification or Code
After you follow the above steps, your MFA configuration and sign in is complete, making your email account more secure than ever! Installation and configuration of the Microsoft Authentication tool will only ever need to be done once per device, making verification via MFA even simpler the next time you need to log into your email on any device.
Pre-requisites
Make sure that you are have the latest version of office installed installed on your device.
If you have an older version of Office you can upgrade using Office 365, for instructions on how to do so please see Upgrade to Office 2016 using Office 365.
Before starting, the below list of compatible Outlook clients / applications should be noted.
| Compatible | Incompatible | |
| Windows | Outlook 2016 or Higher | Outlook 2013 or below |
| Mac | Outlook 2016 or Higher | Outlook 2013 or below |
| Android | Outlook App (Downloaded from Play Store) | Android Native preinstalled Mail App |
| iPhone | Outlook App (Download from App Store) Preinstalled iPhone Mail App on iOS 11 or above |
Preinstalled iPhone Mail App on iOS 10 or below |
| Web Browser |
Outlook Web App (OWA) | N/A |
Below are instructions on how to set up MFA enabled Outlook clients on Windows, Mac, Android and iPhone devices. If necessary please follow these instructions before setting up MFA.
If you use Outlook Web App (OWA) no prior setup on your device is required, you can get started with MFA authentication.
Setting up MFA Enabled Mailbox on Android Device
NB: It is not possible to use the native (pre-installed) mail app on Android devices to access your MFA enabled mailbox.
Instead, you will need to download and install the Outlook App from the Google Play store, for how to install please click here.
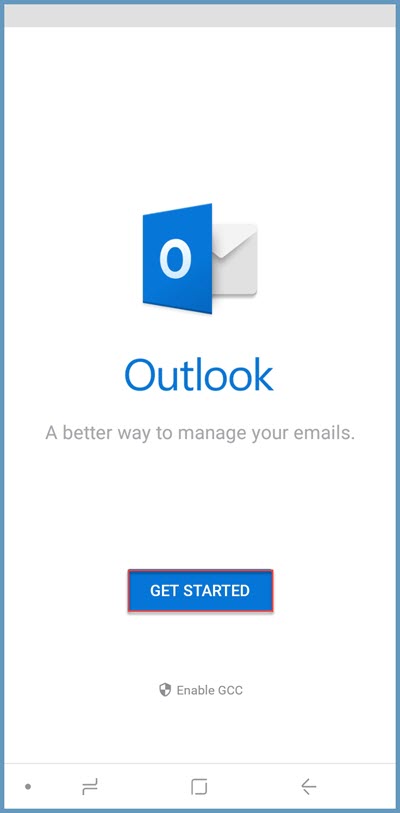
Once installed, open the App and click Get Started
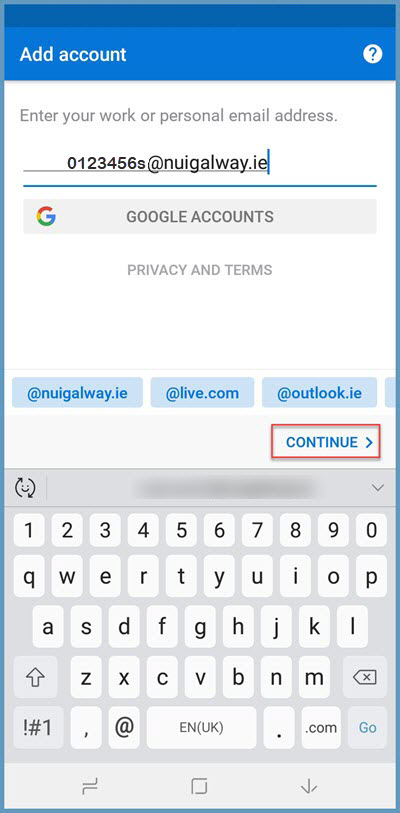
Enter your mailbox username and click continue
Enter your password and click Sign in
Click Next
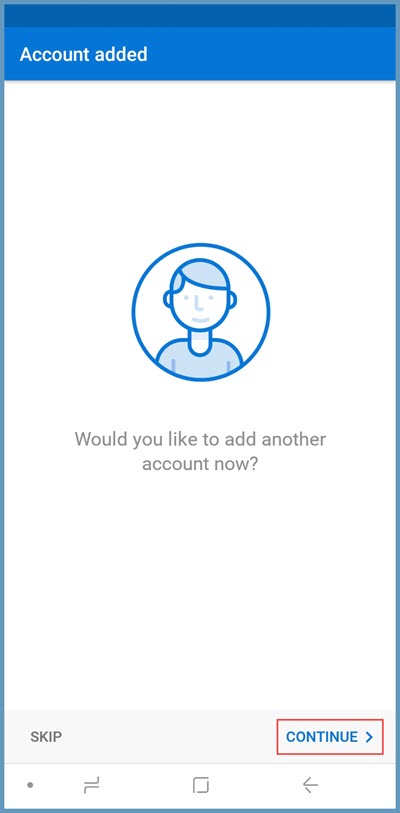
After successfully completing the MFA pass, you will see the below screen
A notice will appear telling you the account has been added. Click continue
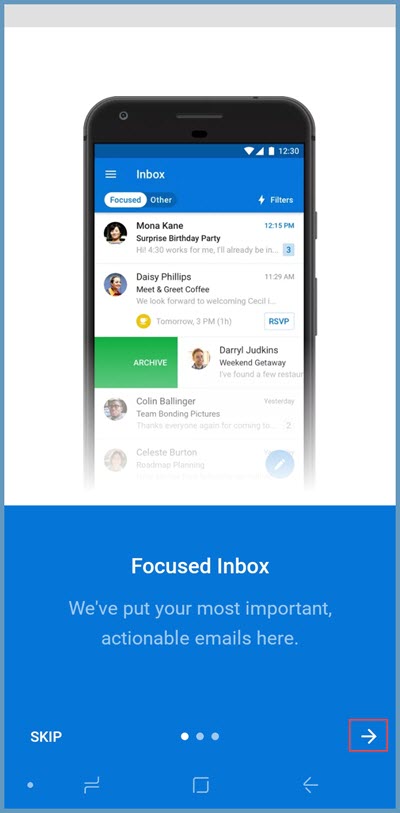
Click Right Arrow
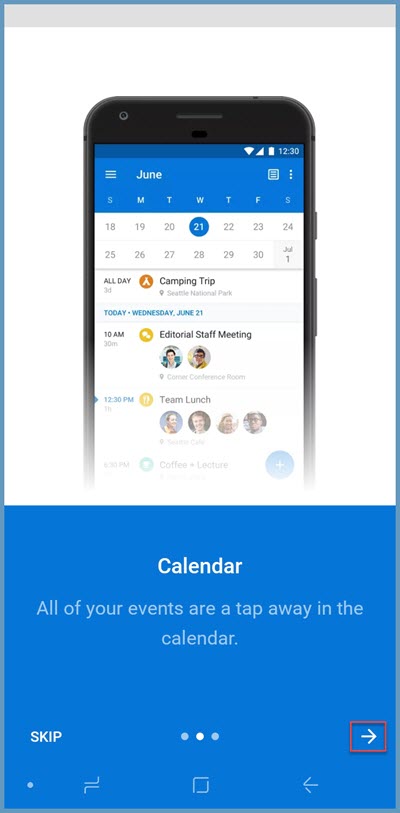
Click Right Arrow
Click Check Mark
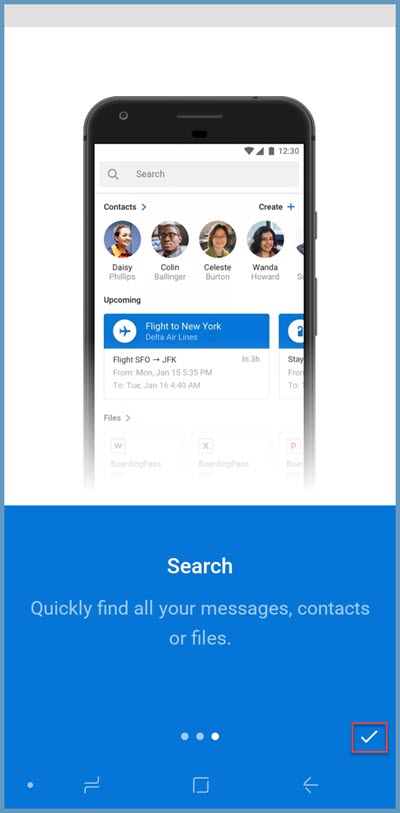
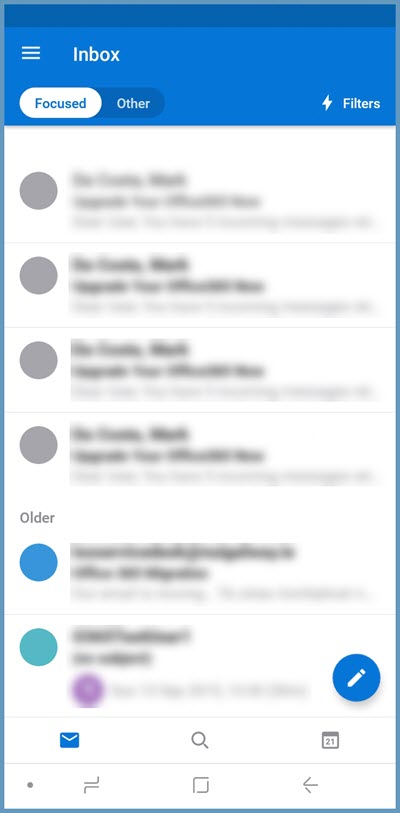
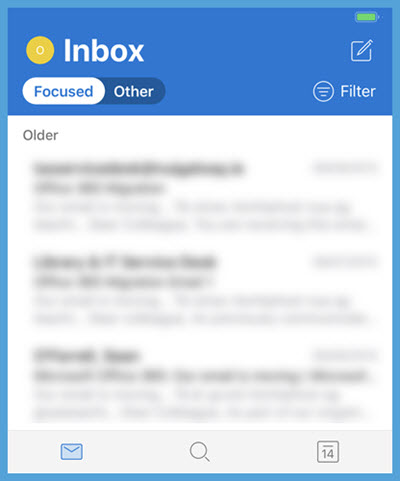
Login is now successfully completed and you are brought to your mail inbox.
Setting up MFA Enabled Mailbox on iPhone via Outlook App
Download and install the Outlook App from the App store, for how to install please click here.
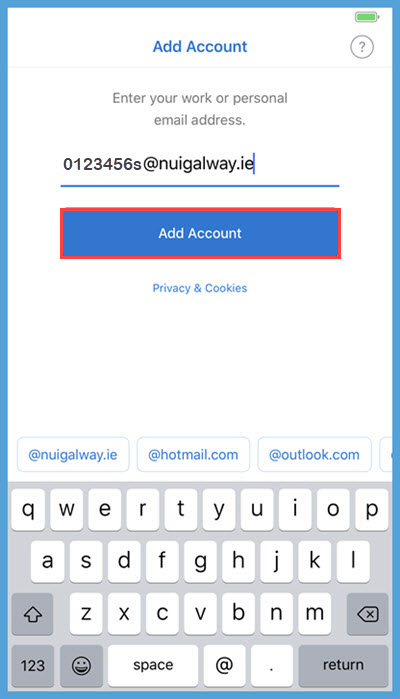
Once installed, open the App, enter your mail username and click Add Account
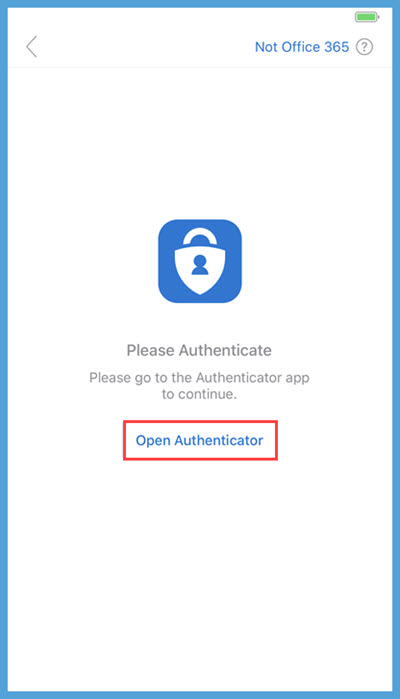
Click Open Authenticator
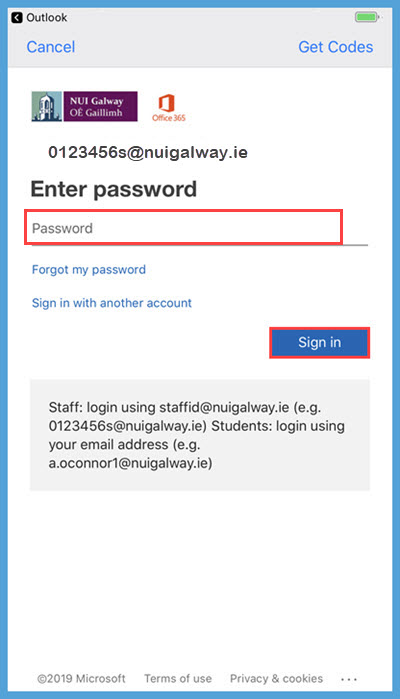
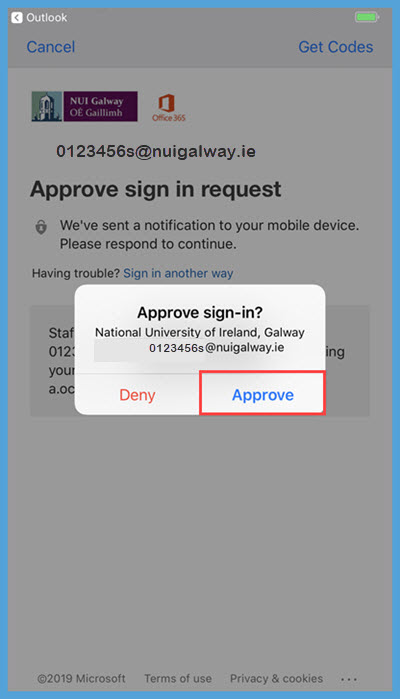
Enter your mail account password and click Sign in
Your Authenticator App remembers your last selected second authentication method preference, in this case, verification via push notification through app. Click Approve.
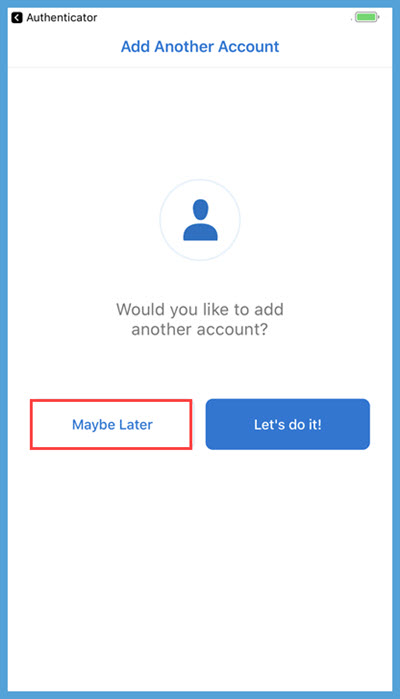
When prompted to Add Another Account, click Maybe Later
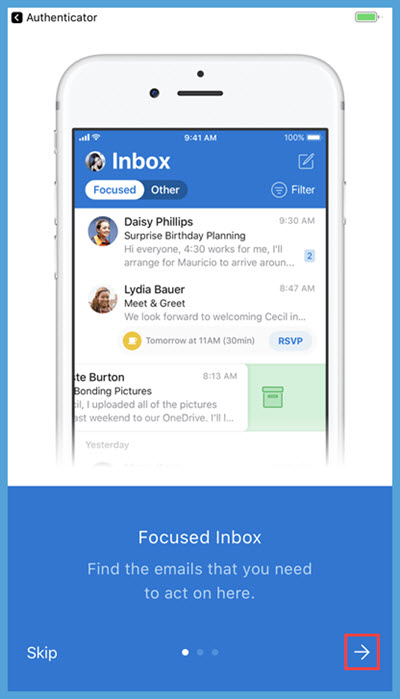
Swipe / hit the right arrow on the next screen
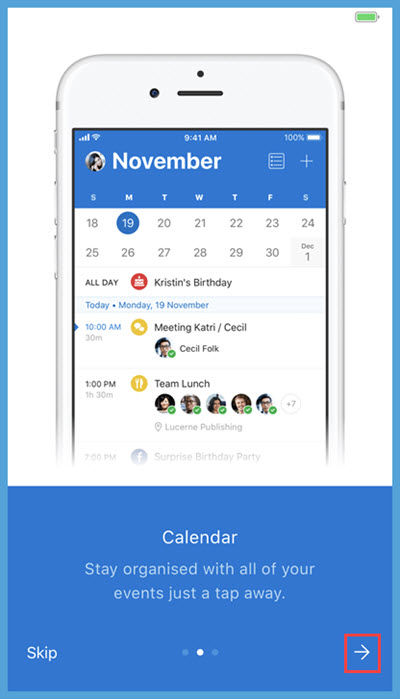
Swipe / hit the right arrow on the next screen
Swipe / hit the right arrow on the next screen
Login is now successfully completed and you are brought to your mail inbox
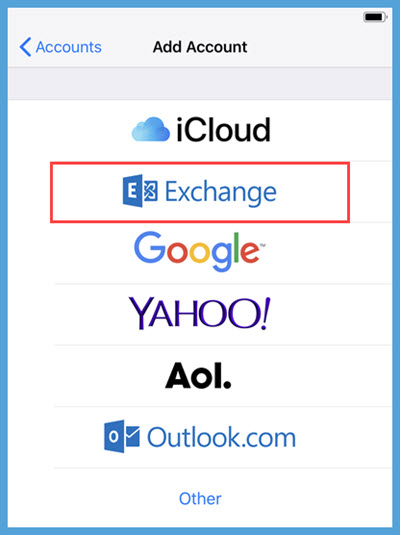
Setting up MFA Enabled Mailbox on iPhone via Preinstalled (Native) Mail App
Navigate to Settings > Passwords & Accounts > Add Account and select Exchange
Enter the username of the mailbox and give the mailbox a description name
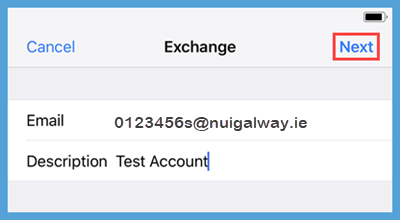
Click Configure Manually at the prompt

Enter the account password and click Sign In
Your Authenticator App remembers your last selected second authentication method preference, in this case, verification via push notification through app. Click Approve from the Authenticator App. You will get notification on your device if you have push notifications turned on.
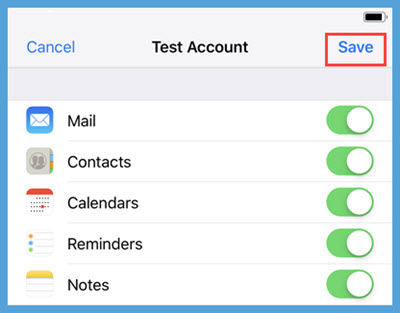
Choose what options you want to sync to your account and click Save
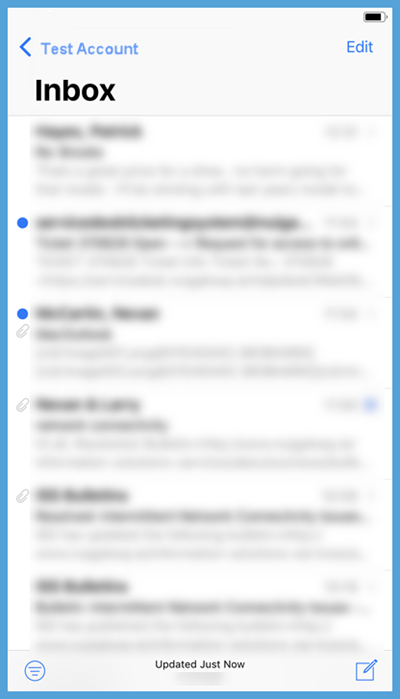
Login is now successfully completed and you are brought to your mail inbox
Setting up MFA Enabled Mailbox on Outlook for Mac
Note: The below steps were completed on Outlook for Mac Version 16.22.1
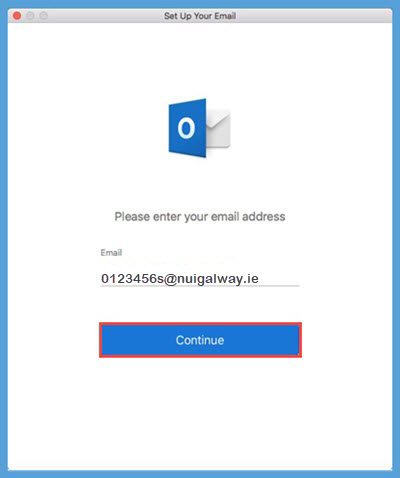
If you are opening the Outlook for the first time you will see the below box. Alternatively, click Outlook > Preferences > Accounts > '+'
Enter the account name and click Continue
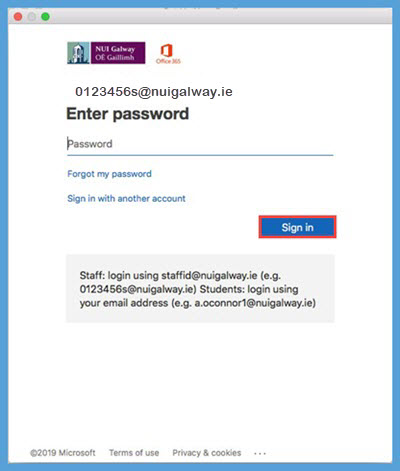
Enter the account password and click Sign In
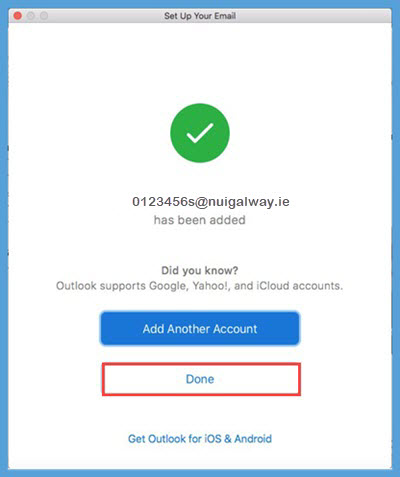
Your Authenticator App remembers your last selected second authentication method preference, in this case, verification via push notification through app. Click Approve from the Authenticator App at the prompt on your device.

Select Done at the next screen
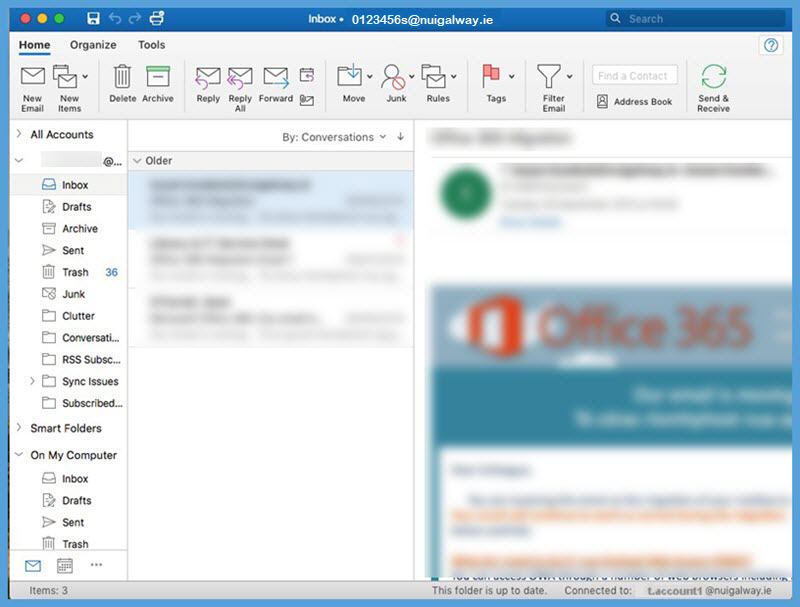
Login is now successfully completed and you are brought to your mail inbox
Setting up MFA Enabled Mailbox on Outlook for Windows
Note: The below steps were completed on Outlook for Windows Desktop Version 1902
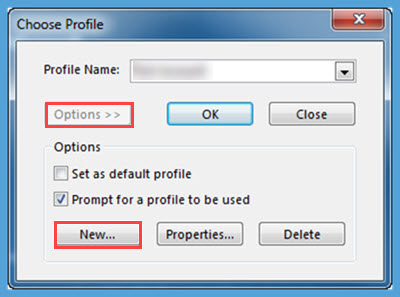
When you open the Outlook Desktop Client, choose Options underneath the Profile Name and then click New.
Alternatively, click File > Add Account from the Outlook Toolbar
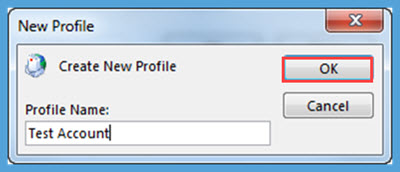
Enter a Profile Name and click OK
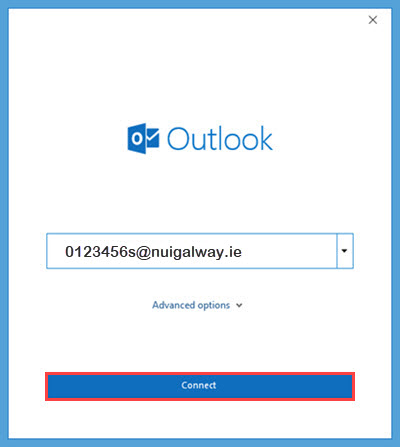
Enter your email username and click Connect
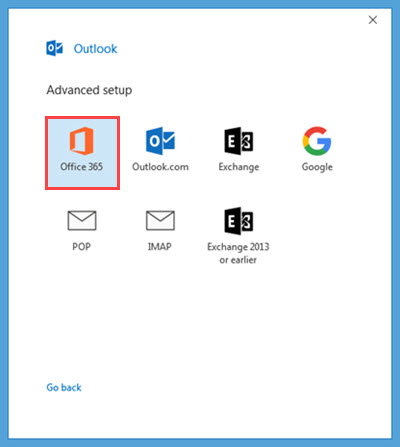
Select Office 365
Enter the Password for your account and click Sign in
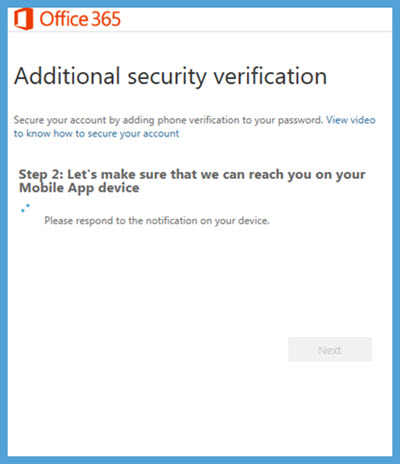
Your Authenticator App remembers your last selected second authentication method preference, in this case, verification via push notification through app. Click Approve from the Authenticator App at the prompt on your device.
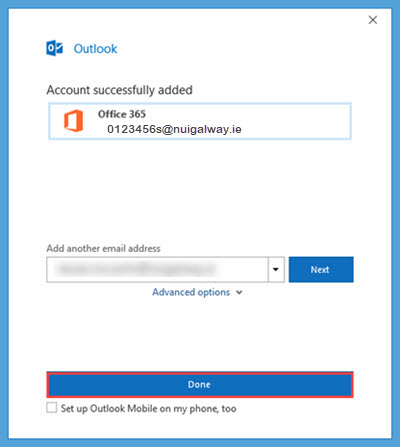
Click Done to finish adding accounts
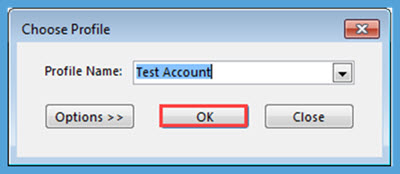
Now choose the Profile you just set up and select OK
Login is now successfully completed and you are brought to your mail inbox
Modify MFA Your Setup
Click Here to Learn How to Modify Your MFA