-
Courses
Courses
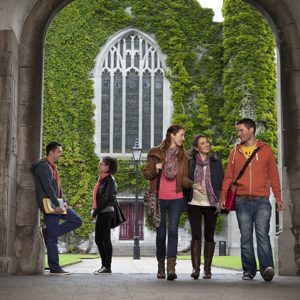
Choosing a course is one of the most important decisions you'll ever make! View our courses and see what our students and lecturers have to say about the courses you are interested in at the links below.
-
University Life
University Life
Each year more than 4,000 choose University of Galway as their University of choice. Find out what life at University of Galway is all about here.
-
About University of Galway
About University of Galway
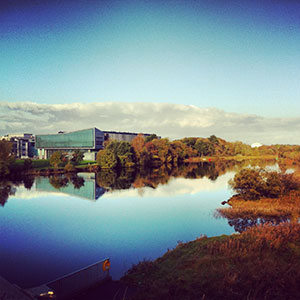
Since 1845, University of Galway has been sharing the highest quality teaching and research with Ireland and the world. Find out what makes our University so special – from our distinguished history to the latest news and campus developments.
-
Colleges & Schools
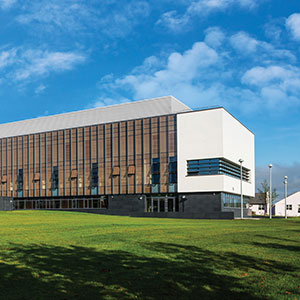
Colleges & Schools
University of Galway has earned international recognition as a research-led university with a commitment to top quality teaching across a range of key areas of expertise.
-
Research & Innovation

Research & Innovation
University of Galway’s vibrant research community take on some of the most pressing challenges of our times.
-
Business & Industry
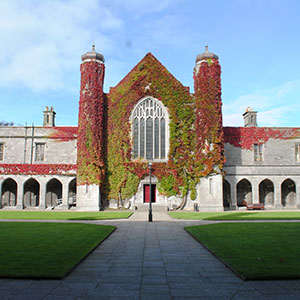
Guiding Breakthrough Research at University of Galway
We explore and facilitate commercial opportunities for the research community at University of Galway, as well as facilitating industry partnership.
-
Alumni & Friends

Alumni & Friends
There are 128,000 University of Galway alumni worldwide. Stay connected to your alumni community! Join our social networks and update your details online.
-
Community Engagement
Community Engagement
At University of Galway, we believe that the best learning takes place when you apply what you learn in a real world context. That's why many of our courses include work placements or community projects.
News, Events, and Features
The news events and features widgets show 3 items each. They were originally designed for college home pages but with a little design tweak, they work great in other homepages too, as you can see below:
Note: You change a page's width (and other options) using its section's DC.Keywords field - see my interactive demonstration for full information.
What the widgets do
The news widget shows the 3 latest news items (based on the 'date released' field). Future news events are not shown.
The events widget displays the top 3 future events (based on the 'event date' field). If there are none, the top 3 past events are shown.
The features widget displays the first 3 features it finds (in a hidden section).
Options, Requirements, and Limitations
You can elect to have a news or an events section on your site (or both).
The three widgets are an optional extra for your homepage. But to have them, you must have news, events, and features sections already set up correctly.
All 3 widgets will appear together - you cannot pick and choose which widgets will display (its all or nothing). However, an alternate, events-only widget is available (more information).
The below instructions show how to embed the widgets as they appear on this page (with the widget ribbon removed). However they can also appear in three columns as per above.
Your 'news' and 'events' sections can appear on your site menu, if you like, but the 'features' section is always hidden from navigation (as they only appear in the widget).
How to set up a News page
- Using the Actions menu of the section you want to add this feature to, click 'Create Section'
- - Name: News
- - Output URI: news
- - Optionally un-check 'show in navigation'
- - Click 'Save Changes'
- Edit the new News section - click on the Enable automatic ordering button and choose Publish Date (newest) from the dropdown menu below it. Click 'Save Changes'
 Tuition Video
 - In the site structure, expand NUI Galway » T4 Training » Training » Training Examples
- Find 'News Page Example' and click on the Actions button. Then click 'Edit section'
- You need to duplicate the truncation code
- Click on the Actions button beside 'JS to truncate news items (code only)' and choose 'Duplicate'
- The Duplicate content popup appears - click on your News page (be careful not to click on any other section's name).
- You're brought back to the t4 News Page Example's content list.
- Click Cancel to go back to the site structure and edit your own News section.
- In the 'Content' Tab approve the Pending content type called 'JS to truncate news items (code only)' by clicking on the Actions button beside it and choosing Approve.
- Go to the 'Page Layouts' tab. To the right of NUI Galway, make sure the page layout drop-down is set to 'Inherited' and the Inheritable page layout is set to 'News Article: School'
- Go to the 'Metadata' tab. Insert 'newsPage article showNav' (without the quotes) in to the DC.keywords field
- Click 'Save Changes'
- Add as many 'NUIG News' content types as you like into this section.
- Images in the NUIG News content type should be 705x400 at minimum.
- Remember, your images need to be added to the Media Library as a Background Image (Image Path CSS) when adding an image to a News Item
How to set up an Events page
- Using the Actions menu of the section you want to add this feature to, click 'Create Section'
- - Name: Events
- - Output URI: events
- - Optionally un-check 'show in navigation'
- - Click 'Save Changes'
- Edit the new Events section, click on the Enable automatic ordering button and choose Publish Date (newest) from the dropdown menu below it. Click 'Save Changes'.
 Tuition Video
 - Add as many 'College Event' content types as you like into this section.
How to set up a Features Section
- Using the Actions menu of the section you want to add this feature to, click 'Create Section'
- - Name: Features
- - Output URI: features
- - Optionally un-check 'show in navigation'
- - Click 'Save Changes'
- Edit the new Features section, click on the Enable automatic ordering button and choose Publish Date (newest) from the dropdown menu below it. Click 'Save Changes'.
 Tuition Video
 - Add as many 'Feature' content types as you like into this section. Features can have 56 x 56px images, which you'll upload to the media library as 'Image Path (CSS)'.
How to set up the optional homepage widgets
- In the site structure, expand NUI Galway » T4 Training » Training » Training Examples
- Go to the 'News, Events, and Features' example section and click on the Actions button, choose 'Edit section'
- Check the checkboxes to the left of both 'Remove widget ribbon' and 'News Events & Features'
- At the top of your content list there are three Action buttons, Click on 'Bulk actions', choose 'Bulk duplicate' from the dropdown menu. (If these buttons are not visible you might need to widen the browser window on your screen).
- A Duplicate content popup will appear
- Scroll to your webpage and click on your homepage. It's ok to expand sections with the + button (if you need to) but don't click on any section name until you've found your homepage's section.
- Go to your homepage section. You'll find the 2 copied pieces of content listed there - their status will be 'Pending'.
- Approve both contents by clicking on the Actions button for each one and choose Approve.


